We are happy to announce our very first developer-preview of the Ethereum Wallet ÐApp. The point of this release is to gather feedback, squash bugs and, most importantly, get the code audited.
Please note that this is a developer-preview and not the final release. We advise you to be extremely careful putting large amount of Ether in the wallet contracts. Using the wallet on the mainnet should only be done with small amounts!
As Steve Ballmer once said Developers! Developers! Developers! And note that this is exactly our target audience, don’t blindly trust us and we ask (and advise!) you to take a thorough look through the code in the ethereum wallet repository!
If you’d like to build the wallet yourself, you need to head over to the Mist repository, use the wallet branch and follow the instructions in the Readme.
Reporting Issues
If you have any issues with the wallet, open the developer console of the wallet (Menu -> Developer -> Toggle console) and provide the logs from there and the terminal where you started
gethor
eth from. Please report all issues to the wallet repository.
How to run it?
First download the binary for you OS: (**Note**: You can find newer releases here)
This developer preview doesn’t come bundled with a node, as there are a few things still to be finalised, so you still need to start one yourself.
For this developer preview the supported clients are geth and eth. Python is currently not supported because it does not have the required IPC interface to run the wallet.
If you don’t have one of these nodes installed yet, follow the instructions here or download a pre-build version. Make sure you have updated to the latest version. and start a node by simply running:
Go:
If you want to unlock an account to be able to transfer add –unlock <my account>, or start a console with $ geth attach and unlock it using the JavaScript interface: personal.unlockAccount(‘<my account>’).
C++:

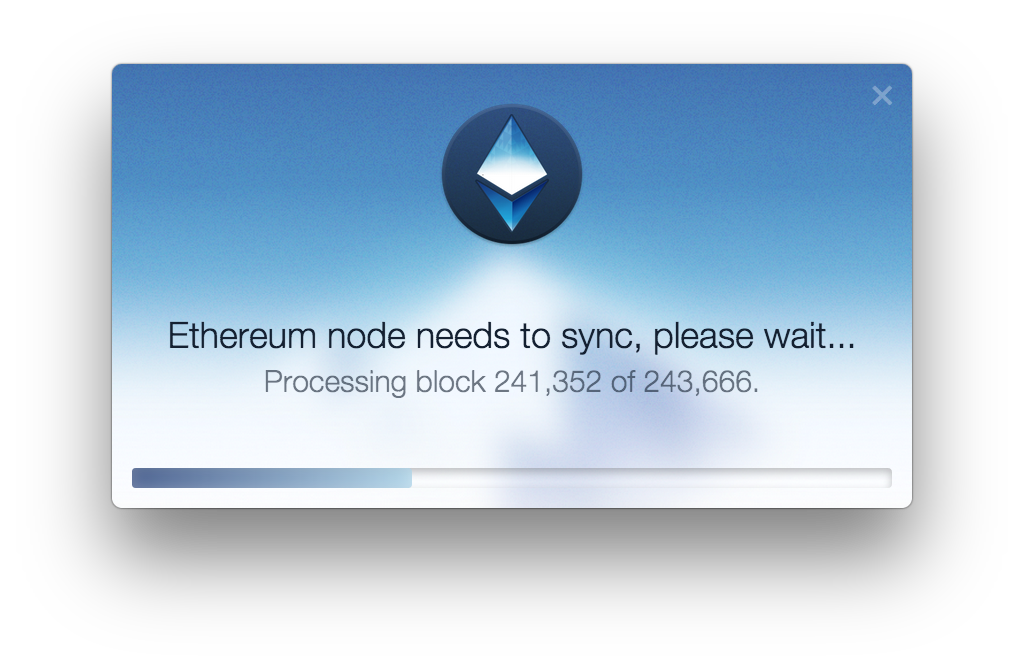
It is important to note that the wallet is expecting a fully synced up node.
In future versions of geth and eth the wallet will make use of the new eth_syncing method in the JSON RPC, allowing you to see a sync screen when you start the wallet.
This feature is currently already supported by geth and eth on their develop branches.
Finally start the wallet by clicking the executable!
Running on a testnet
If you want to try the wallet on a testnet you need to start your node with a different network id and probably a different data directory. To make sure the wallet can still connect to your node you manually need to set the IPC path:
OS X:
$ geth --networkdid "1234" --datadir "/some/other/path" --ipcpath "/Users/<username>/Library/Ethereum/geth.ipc"
Linux:
$ geth --networkdid "1234" --datadir "/some/other/path" --ipcpath "/home/<username>/.ethereum/geth.ipc"
Additional you should probably provide your own genesis block using the –genesis flag. For more details about the flags see the wiki.

After the node is started you can simple start the wallet again.
Note that you need to wait sometimes a bit, and click in the button in the corner.
Once you opened the wallet you will see a popup asking you to deploy a wallet contract on your testnet, which will be used as a code basis for your future wallet contracts. The main advantage is that it is much cheaper (1.8mio vs 180k gas).
Note: Make sure you have the displayed account unlocked and has at least 1 ether.
Using the wallet
The wallet allows you to create two types of wallets:
- A simple wallet – works like a normal account (additional features are being worked on; e.g. adding owners, setting a daily limit)
- A multisig wallet – allows you to add any number of owner accounts and set a daily limit.
Every owner can send money from that account as long as it is under the daily limit. If above you need the signatures of the required other owners.
When operating on the main net make sure you write down / backup the wallet contract address! This address is required in case you need to reimport your wallet on a different computer or during backup/recovery.
Multisig
If you want to send and amount which is over the daily limit, your other owners need to sign. This should mostly be done from another computer, though you could as well add accounts you have in the same node.
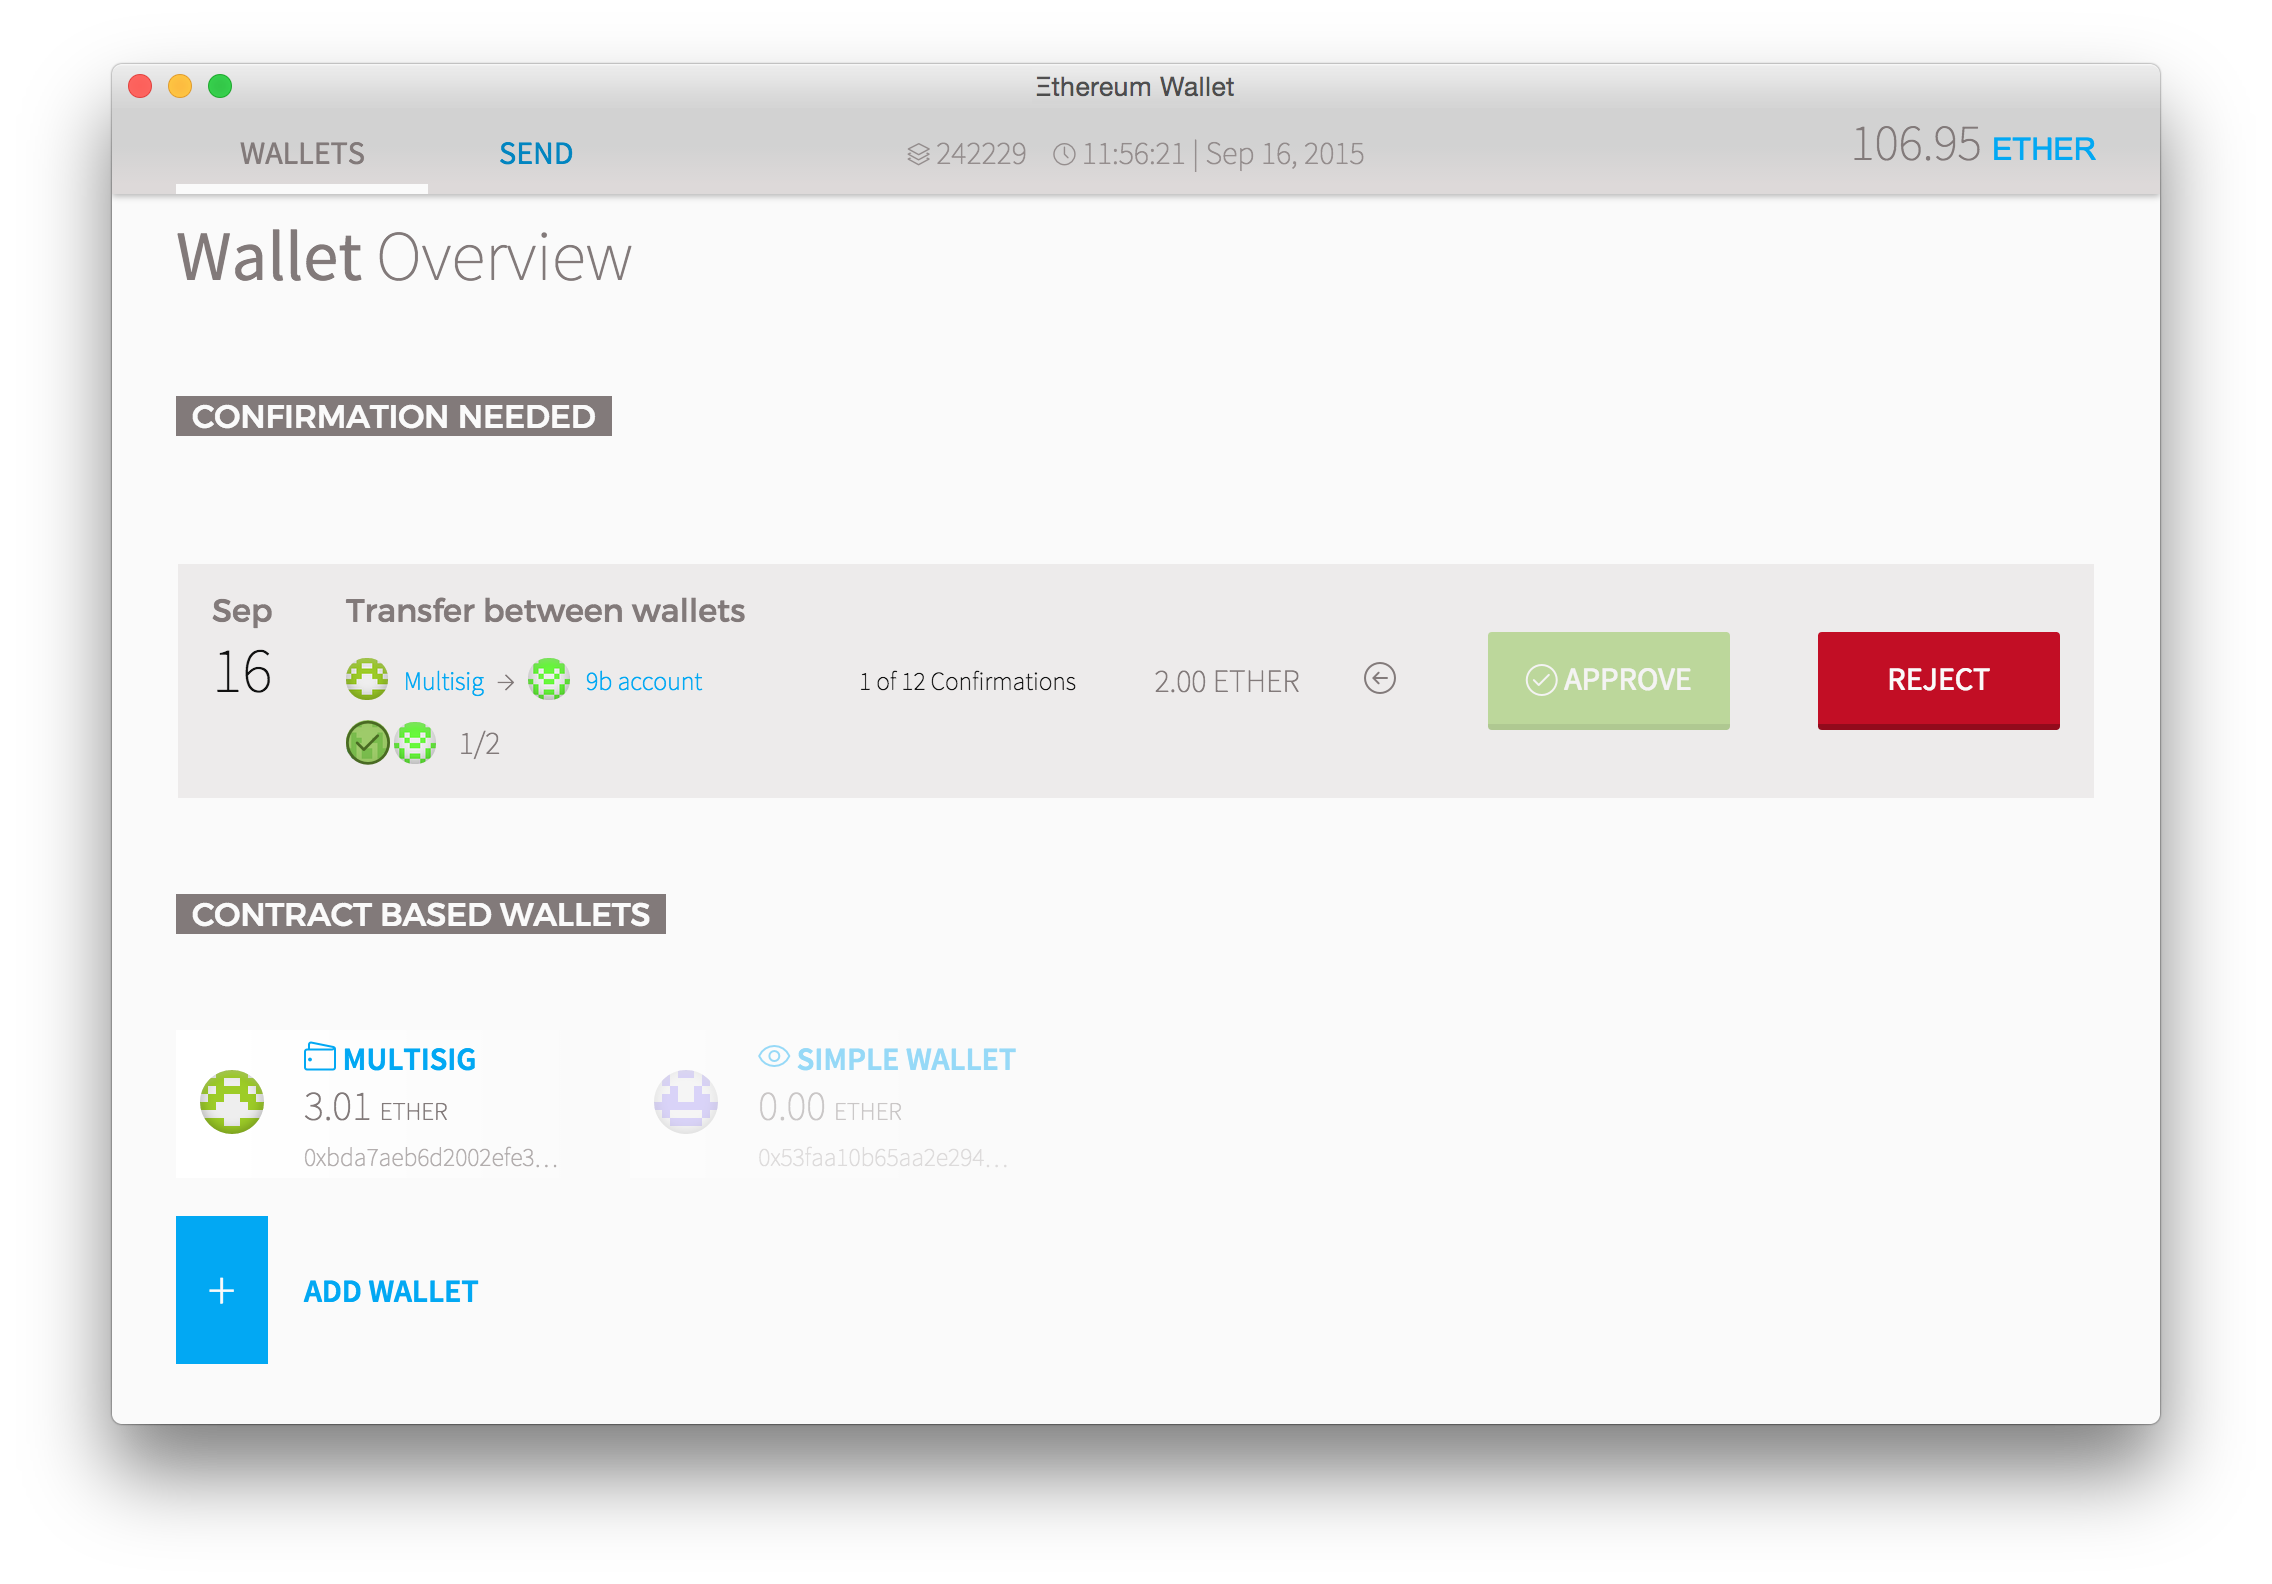
If a pending request comes in it will look as follows:

Simply click approve and the transaction goes through.
Deleting wallets

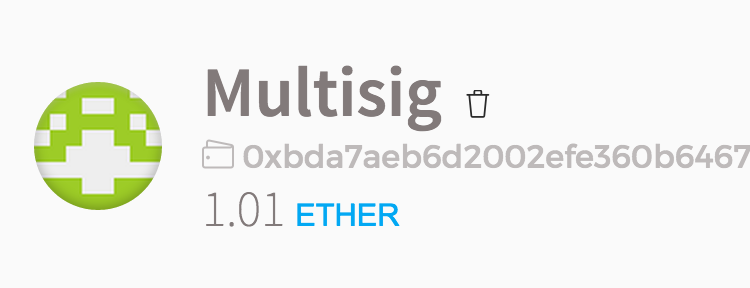
If you’d like to delete a wallet click the trash icon on the wallet page, next to the wallet name. After you typed the name of the wallet it will be deleted from the Ðapp.
If you wrote the address down, you can always re-import the wallet in the “Add Wallet” section.
Roadmap
When everything works fine and we finished the binary integration we are planning to release a first official version in 1-2 weeks™
Until then please file issues and discuss it on reddit!


Leave a Reply